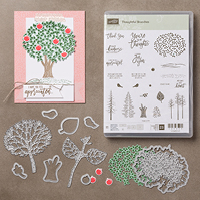
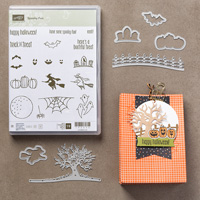
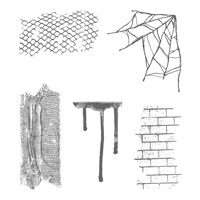
I started with some watercolor paper. I wanted to have a "resist" look from the leaves so that when I added color around them, they'd really pop. To accomplish this, I prepared my surface that I would be heat embossing with the Emboss Buddy. This cool little tool is a bag of anti-static powder that, when rubbed over your surface, will ensure that you don't get any embossing powder anywhere else but where you've stamped with Versamark. After I prepped my area, I stamped the leafy image onto the paper, added white embossing powder, tapped off the excess, and heat set it. Then I was ready to watercolor.
I like to tape it down on all four sides to a board to keep the warping to a minimum. This is not a necessary step if you're just doing a small amount of watercoloring.

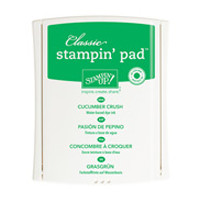
The Stampin' Up! inks are great for watercoloring. You can use just a small amount of the ink refills and mix them with water or, in this case, you can take your ink pad, squeeze firmly on both the top and bottom of the closed ink pad to get the the ink from the pad to transfer to the lid. Don't worry! This will NOT ruin your pads. This will allow you to use your aqua pen or paintbrush and some water and voilà! You have your own pallet with no mess! So I just added a bit here and there of each color of ink and made sure that they all blended.

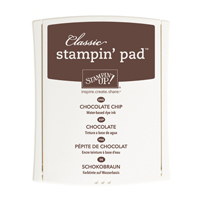
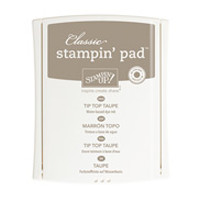
To get the trunk of the tree, I just used one of the trunks from one of the trees from this set, masked off the part I wanted, inked it up, and spritzed it with some water. I did this because I wanted to continue the watercolor look throughout the card. I did the same with the ground piece with Chocolate Chip ink and then just added some Tip Top Taupe ink to blend out the ground area.
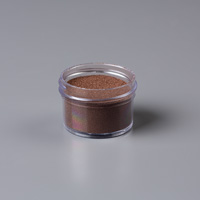
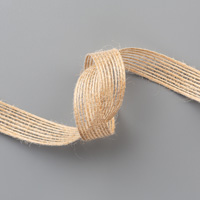
I wanted the the sentiment to stand out so I heat embossed it with the fabulous new copper embossing powder. I splattered a few dots of Basic Black ink by dipping my aqua pen in the ink and tapping it gently on my arm. To finish it off, I added just a strand of the burlap ribbon, and that's the card! Thanks so much for stopping by and as always, all supplies used for this card are listed below. The stamp bundle will be available staring September 1st. You can just click on the links below and they will take you directly to the product! Thanks and see you next post!
Check out my store:
Make sure you see my name in the upper right hand corner of the page or select "find a demonstrator", then "demonstrator directory" and search my name, Lauren Alarid. If you don't select me, I won't know who to thank for the order. Email me with any questions at Craftylittlepeach@gmail.com
You can also check out my Pinterest Board: