Hey peaches and thanks for joining me for my debut as the newest creative member of the TGIF design team! If you're new to the TGIF Challenges, each Friday, we offer a new themed challenge for you to play along with. Be sure to check out the main blog for more details, inspiration, and the guidelines. This week's challenge is a technique challenge and I absolutely love it!

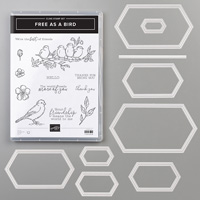
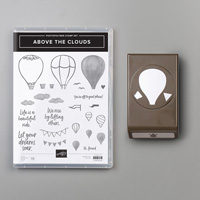
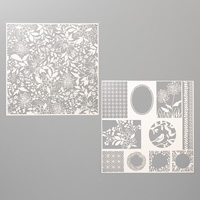
My cards for this week's challenge were made using the Free As A Bird Bundle. Here are my submissions:

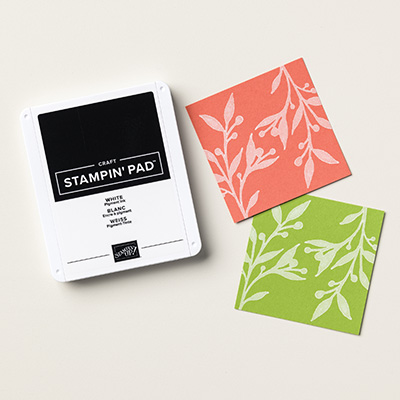
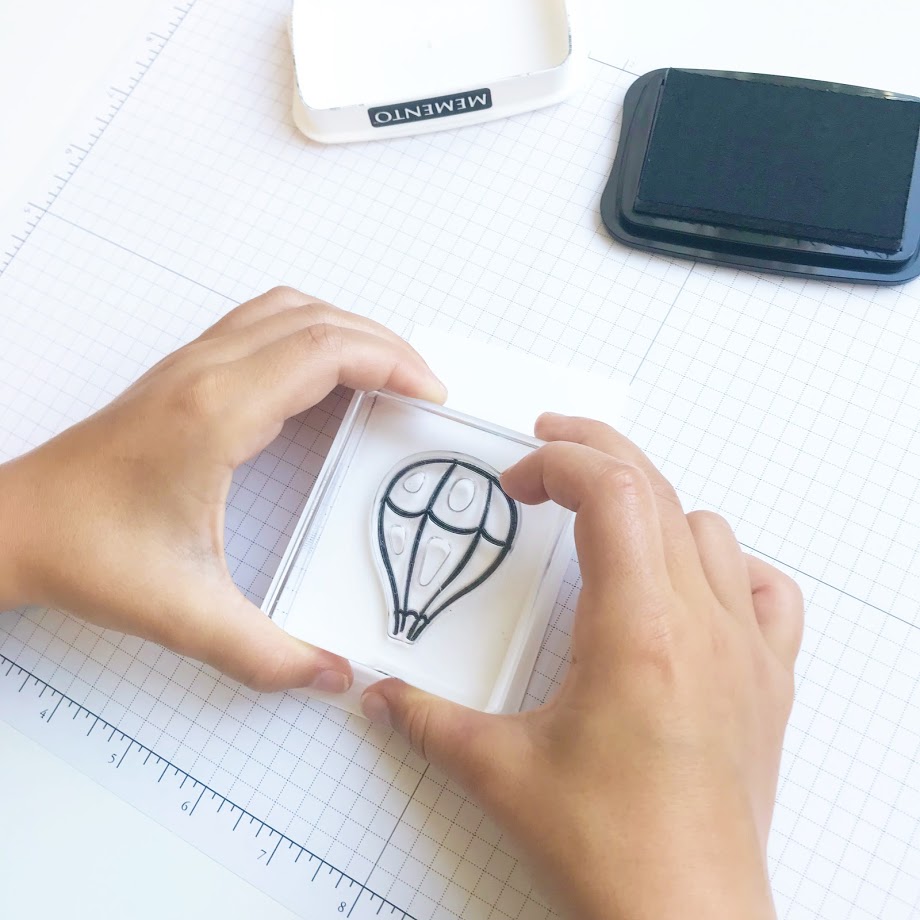
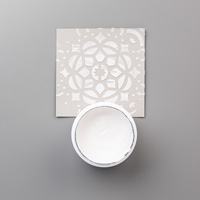
I just love the look of a little splatter on my projects. To create some fun and easy splatter, I simply took my stamp block, squeezed a little Whisper White Craft Ink onto the block and add a little bit of water from my Aqua Painter. Then I dip my painter ink the white ink and tap it against my block, aiming it towards my project. This creates little specks of opaque white ink all over your card. You can do this with and of the ink colors for a totally customizable look!

Here's a close-up of the splatter effect:

I even made a matching mini 3x3 note card, only this one was done by using the same technique but with Frost White Shimmer Paint. I love the touch of sparkle it adds.

Thanks so much for stopping by and we would love it if you would join in on the fun! Come check out the TGIFChallenges Blog for more information and more challenges! Paticipants will have until the following Thursday at 10am PST to post your projects to the TGIF Blog Page. Don't forget to add the hashtag #tgifc226 when you share so we can see what you come up with!
Don't forget! You can find me on Instagram and Facebook! Happy stamping!
Use my host code (PKT7EXUR) for monthly bonus items. Contact me for more info: Craftylittlepeach@gmail.com
Host A Party
Use my host code (PKT7EXUR) for monthly bonus items. Contact me for more info: Craftylittlepeach@gmail.com
Host A Party
Get your friends together and host a party to earn Stampin' rewards during the month of August! Contact me to book an event!
To order online:
August 2019 Hostess Code:
PKT7EXUR
Or email me @ Craftylittlepeach@gmail.com
PKT7EXUR
Starting January 3, hosts with qualifying orders can receive additional Stampin’ Rewards. Below are the markets, qualifying amounts, and additional Stampin’ Rewards they can receive.

If you’ve considered joining, it's a truly great time! For just $99, you can select $125 of your choice of product AND earn a 20% discount on purchases from the Annual Catalog. This is an amazing deal! If you want to join my team, click here or please email me!

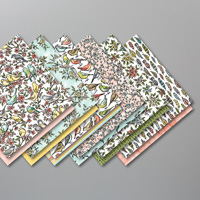
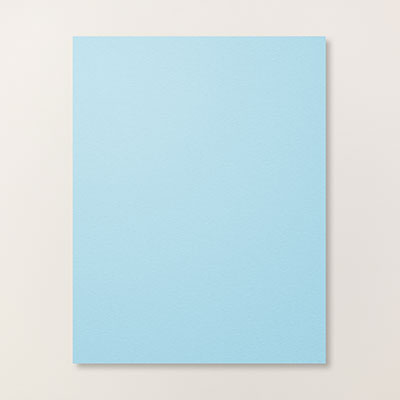
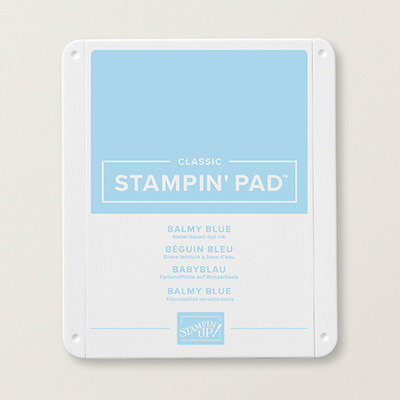
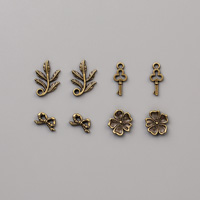
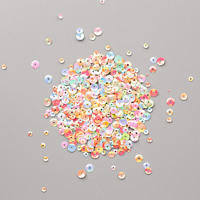
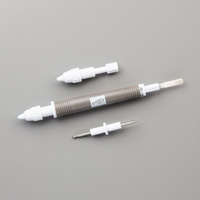
Supplies: