This card was actually came first but both were super easy to make as I had all of my elements ready to go. As with the last card, it includes layers and textures, bright colors, all of the things that I love!
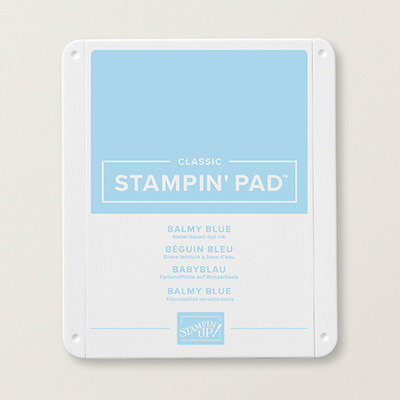
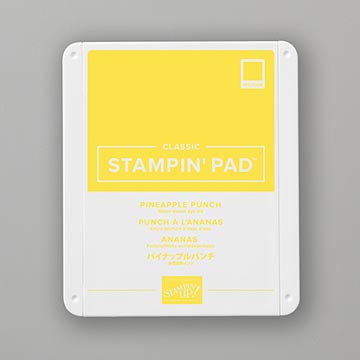
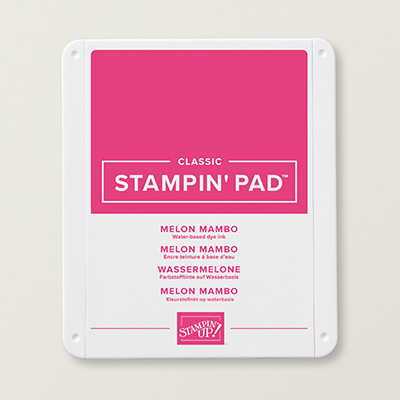
For those of you that missed the previous post, here's what I did: The snowflakes were fun to create and super easy! I started with a full piece of Watercolor Paper and did a quick water only wash over the entire surface. I dabbed in random spots a mixture of Balmy Blue Ink, Pineapple Punch Ink, and Melon Mambo Ink. I just love how beautiful these colors look together and how lovely they blend as the water wash allows them to mix together effortlessly and organically. Here's the result below:

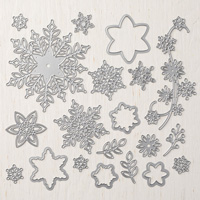
After the watercolor dried, I ran it through my Big Shot with the Snowfall Dies. I love that there are TONS of dies in this set, allowing me to cut multiple snowflakes at a time. Also, by watercoloring a full sheet of Watercolor Paper, I am able to fit quite a few snowflakes.

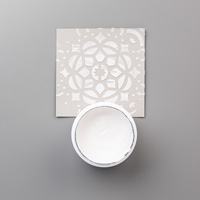
Here are a few close-up's. For the background, I used my Aqua Painter and mixed a little water into some Frost White Shimmer Paint and spattered it all over.

I hope you have enjoyed today's project. Remember, these products will only be available through November 30th, so make sure you grab it while you can so that you can begin creating your own gorgeous Christmas cards to share. See you next post!
Use my host code (PMA22TKA) for monthly bonus items. Contact me for more info: Craftylittlepeach@gmail.com

Host A Party
Get your friends together and host a party to earn Stampin' rewards during the month of August! Contact me to book an event!
To order online:
November 2018 Hostess Code:
PMA22TKA
Or email me @ Craftylittlepeach@gmail.com
If you’ve considered joining, it's a truly great time! For just $99, you can select $125 of your choice of product AND earn a 20% discount on purchases from the Annual Catalog. This is an amazing deal! If you want to join my team, click here or please email me!


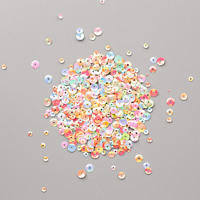
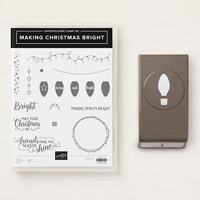
Supplies: