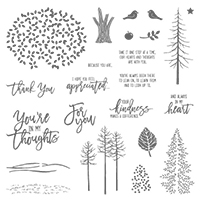
I'm so excited to introduce this new limited time stamp set! It's appropriately named "Thoughtful Branches", and I just adore all the gorgeous images and sentiments! This set also has a coordinating die set that you can get as a bundle, though I didn't happen to use the dies for my project today.
This set would be great for any season- Christ,as cards, fall decor, etc. In my project, I went with a fall leaf look. I wanted something soothing and peaceful as my plan was to create a sympathy card.
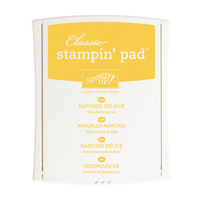
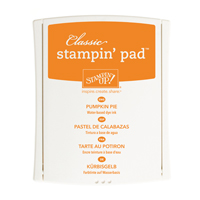
I started with a Peekaboo Peach sheet of cardstock cut at 4 1/4 x 11 inches, scored at 5 1/2 inches to make a top folding portrait card base. The next layer I cut from watercolor paper at 3 3/4 x 5 inches. For this layer, I, first, watercolored, using my aqua painters. the aqua painters are great, because they work just like paint and water, without the mess. You just simply press the lid of your ink pad and its base together so that when you open the lid, it has some ink in the well of the lid. This is where you'll pull your ink from. The painters have a hollow barrel that you can fill with regular tap water. You squeeze gently to push some water to the tip of the painter and mix it with the ink, and you're ready to watercolor! I do recommend wetting the watercolor paper before painting if you want that dreamy, watercolor look. If you want bolder colors, you would use less water. I find that watercoloring is very relaxing to do, and you get better and better at it as you go.
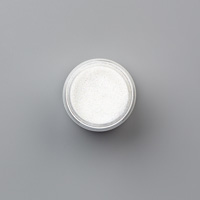
After letting the watercolored paper dry, I wanted to create additional texture for the background and add some subtle embossing to my watercolor background. To achieve this, I used my Embossing Buddy (an anti-static powder that keeps the embossing powder from sticking to anywhere but the embossed image) on the surface I planned to stamp, and then I took the leaf arrangement stamp from the Thoughtful Branches set and inked it up with my versa mark pad. Then I mixed a little Dazzling Diamonds Glitter with some clear embossing powder, poured the mixture on the stamped image. Last, I used my heat tool to set the powder, and voila, a beautifully textured background!
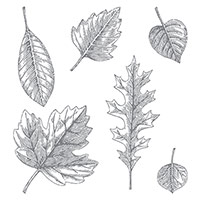
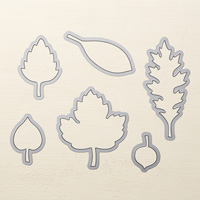
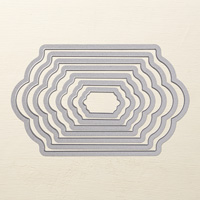
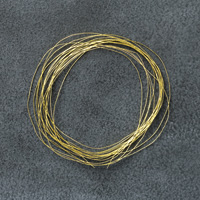
Lastly, I heat embossed my sentiment, using gold embossing powder on Real Red cardstock and cut it out, using the lots of labels dies. For the final touch, I stamped, inked, and die cut my leaf image from the Vintage Leaves set and coordinating dies and adhered it to the top of my sentiment. Oh, and I also added some gold thread here and there for additional texture. As always, all the supplies uded for this card are listed below. I hope you liked this card today! Thanks so much for stopping by!
Check out my store:
Make sure you see my name in the upper right hand corner of the page or select "find a demonstrator", then "demonstrator directory" and search my name, Lauren Alarid. Email me with any questions at Craftylittlepeach@gmail.com
You can also check out my Pinterest Board:










No comments:
Post a Comment
Note: Only a member of this blog may post a comment.