
Ink blending is a really fun technique and you can get so many different looks from it. Typically, I prefer a softer ink color for blending, but I'm not afraid of working with the bright ones either. It just depends on what look you're going for. In today's card, I wanted the blended background to be subtle and understated because I wanted the focal point on my main images.

I am featuring the Sea Of Textures Bundle for this card. This set has such great images to stamp as well as coordinating dies to cut with (Just a note: this set will be available to customers on June 1st). One of the most unique things about this bundle is that it has dies that are stand alone, or don't match up with any of the stamps in the set directly. I love when there are dies like this is a set because it offers so much versatility with the set. With all of this in mind, I wanted to highlight a few die images that are not only stand alone, but may not be used as much as the main octopus image.
I began with a panel piece from Whisper White Cardstock. I used my Stampin' Sponge to lightly sponge on my Soft Sea Foam Ink. Now the key to ink blending, in my humble opinion, is two-fold. First, as you ink up your sponge in ink you'll want to dab off onto scratch paper before applying to your project. This will help minimize any unintended harsh marks of ink. The other strategy is to start light and slowly build up the color. Remember, you can always add more color, but it's difficult to remove take it away. I like to start at the edge og my panel and work my way in to the center, depending on where I plan to have my ink blending.

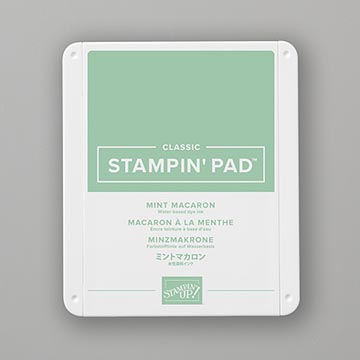
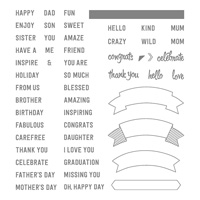
After ink blending my background, I used my Mint Macaron Ink to, first stamp off, then stamp a few textured stamp images from the set. Then in both full strength and second generation Mint ink, I stamped the "thank you" sentiment from the Thoughtful Banners Stamp Set in my background randomly. I use this same sentiment for my greeting that is stamped on Tranquil Tide Cardstock.
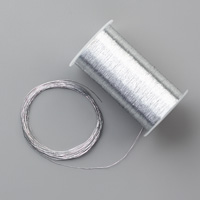
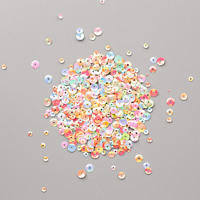
Next I cut out the sandollar images from the set. Then to finish off my card, I added some Silver Metallic Thread and a few sequins from the Iridescent Sequin Assortment.

Host A Party
Get your friends together and host a party to earn Stampin' rewards! Contact me to book an event!
To order online:
May 2018 Hostess Code:
493FA379
Or email me @ Craftylittlepeach@gmail.com

If you’ve considered joining, it's a truly great time! For just $99, you can select $125 of your choice of product AND earn a 20% discount on purchases from the Annual Catalog. This is an amazing deal! If you want to join my team, click here or please email me!
Supplies:


This is beautiful! May I please CASE it?
ReplyDeleteThis is another testimony on how Chief Dr Lucky cured my HIV disease. Do you need a cure for your HIV disease? Do you want to be cured from your cancer disease? Or you want to be free from any type of disease. Kindly visit his website https://chiefdrluckyherbaltherapy.wordpress.com/ . He just cured my HIV disease and I’m very grateful to him, he is the only herbalist that can cure you.
ReplyDeleteWhatsApp number : +2348132777335
Via Email : chiefdrlucky@gmail.com
Thank you all for reading,
God bless"