

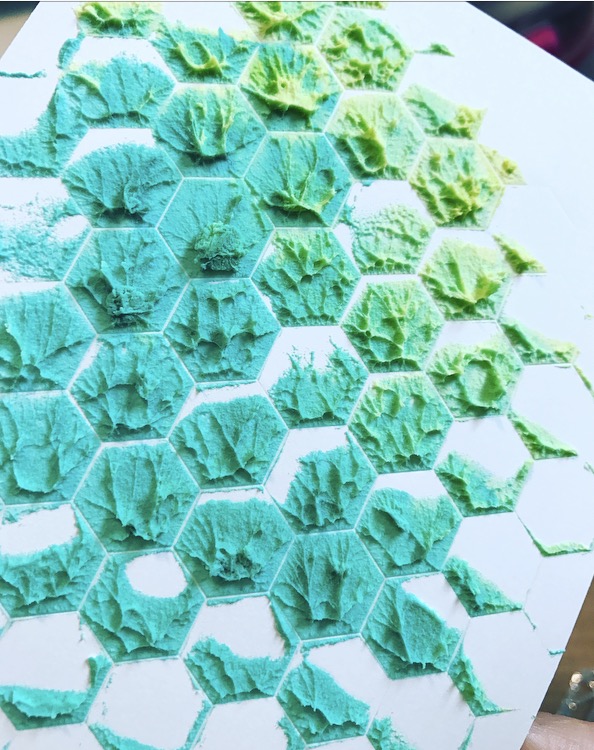
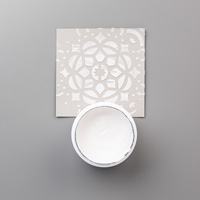
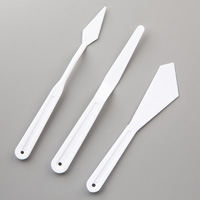
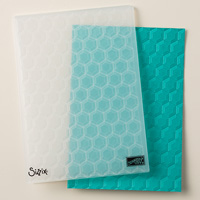
Now onto the project. If you notice in today's projects that there is a fun, geometrical pattern of texture. This should look familiar to you as it is the same as the Hexagon deep impression embossing folder. That's right! I used my embossing folders to creat patterns of texture in the embossing paste. It's really quite simple. All you need to do is take your paste and pallet knife, spread the paste on the side of the folder that does not have the raised portion of the pattern. If you are looking at your Stampin' Up! Embossing folder, look for the side with the SU logo. That's the correct side. I have tried using the side with the raised pattern I didn't get a good of an impression with it.
Once you have spread your paste over the folder, you will then take your cardstock panel that you plan to use and place it face down on the pasted side. Next you close the cardstock in between the folder and I like to squeeze it together, first, with my fingers. Then I like to use my bone folder and scrape it across the top of one of the sides of the embossing folder. Here's a picture of one of the panels I did.
Now if you are wondering, "Why don't you just run it through the Bigshot?". Well, I did try that and the result is a big icky mess. The Bigshot crests too much pressure and the paste just oozes out the sides of the folder, and, yep, you guessed it, all over the Bigshot. It wasn't too bad to clean up, but I prefer little to no messes personally, lol.
The last thing I wanted to point out is that I also tried out the regular embossing folders and got great results as well. I encourage you to test out the ones you have and see what you can come up with. It's so fun trying new techniques and not knowing how they'll turn out. I'm really happy with mine, and I'm so glad you stopped by to see today's project! See you next post!


Get your friends together and host a party to earn extra Stampin' rewards during the month of June! Contact me to book an event!

To order online: Stampin' Up! Webpage
June 2017 Hostess Code:
37NWJG39
Or email me @ Craftylittlepeach@gmail.com
If you’ve considered joining, it's a truly great time! For just $99, you can select $125 of your choice of product AND you'll be able to pre-order in May from the brand new catalog as well as earn a 20% discount on your purchases from the Annual Catalog. This is an amazing deal! If you want to join my team, please email me!


Thanks for sharing — love your amazing cards!
ReplyDeleteGreetings from Germany ;-)
Indina
Thank you so much, Indina! I'm so glad you liked them!
DeleteAbsolutely stunning!!! Thanks for the technique!
ReplyDeleteOh thank you, Terri! I'm so happy you liked it!
Delete