

Well, hello peaches! Welcome to the Snowflake Showcase Promotion Stampin' Up! Artisan Design Team Blog Hop! For a limited time (November 1st-30st) demonstrators can pre-order this exclusive bundle now before it goes live November 1st for customers, so grab yours now so you can start planning your classes!

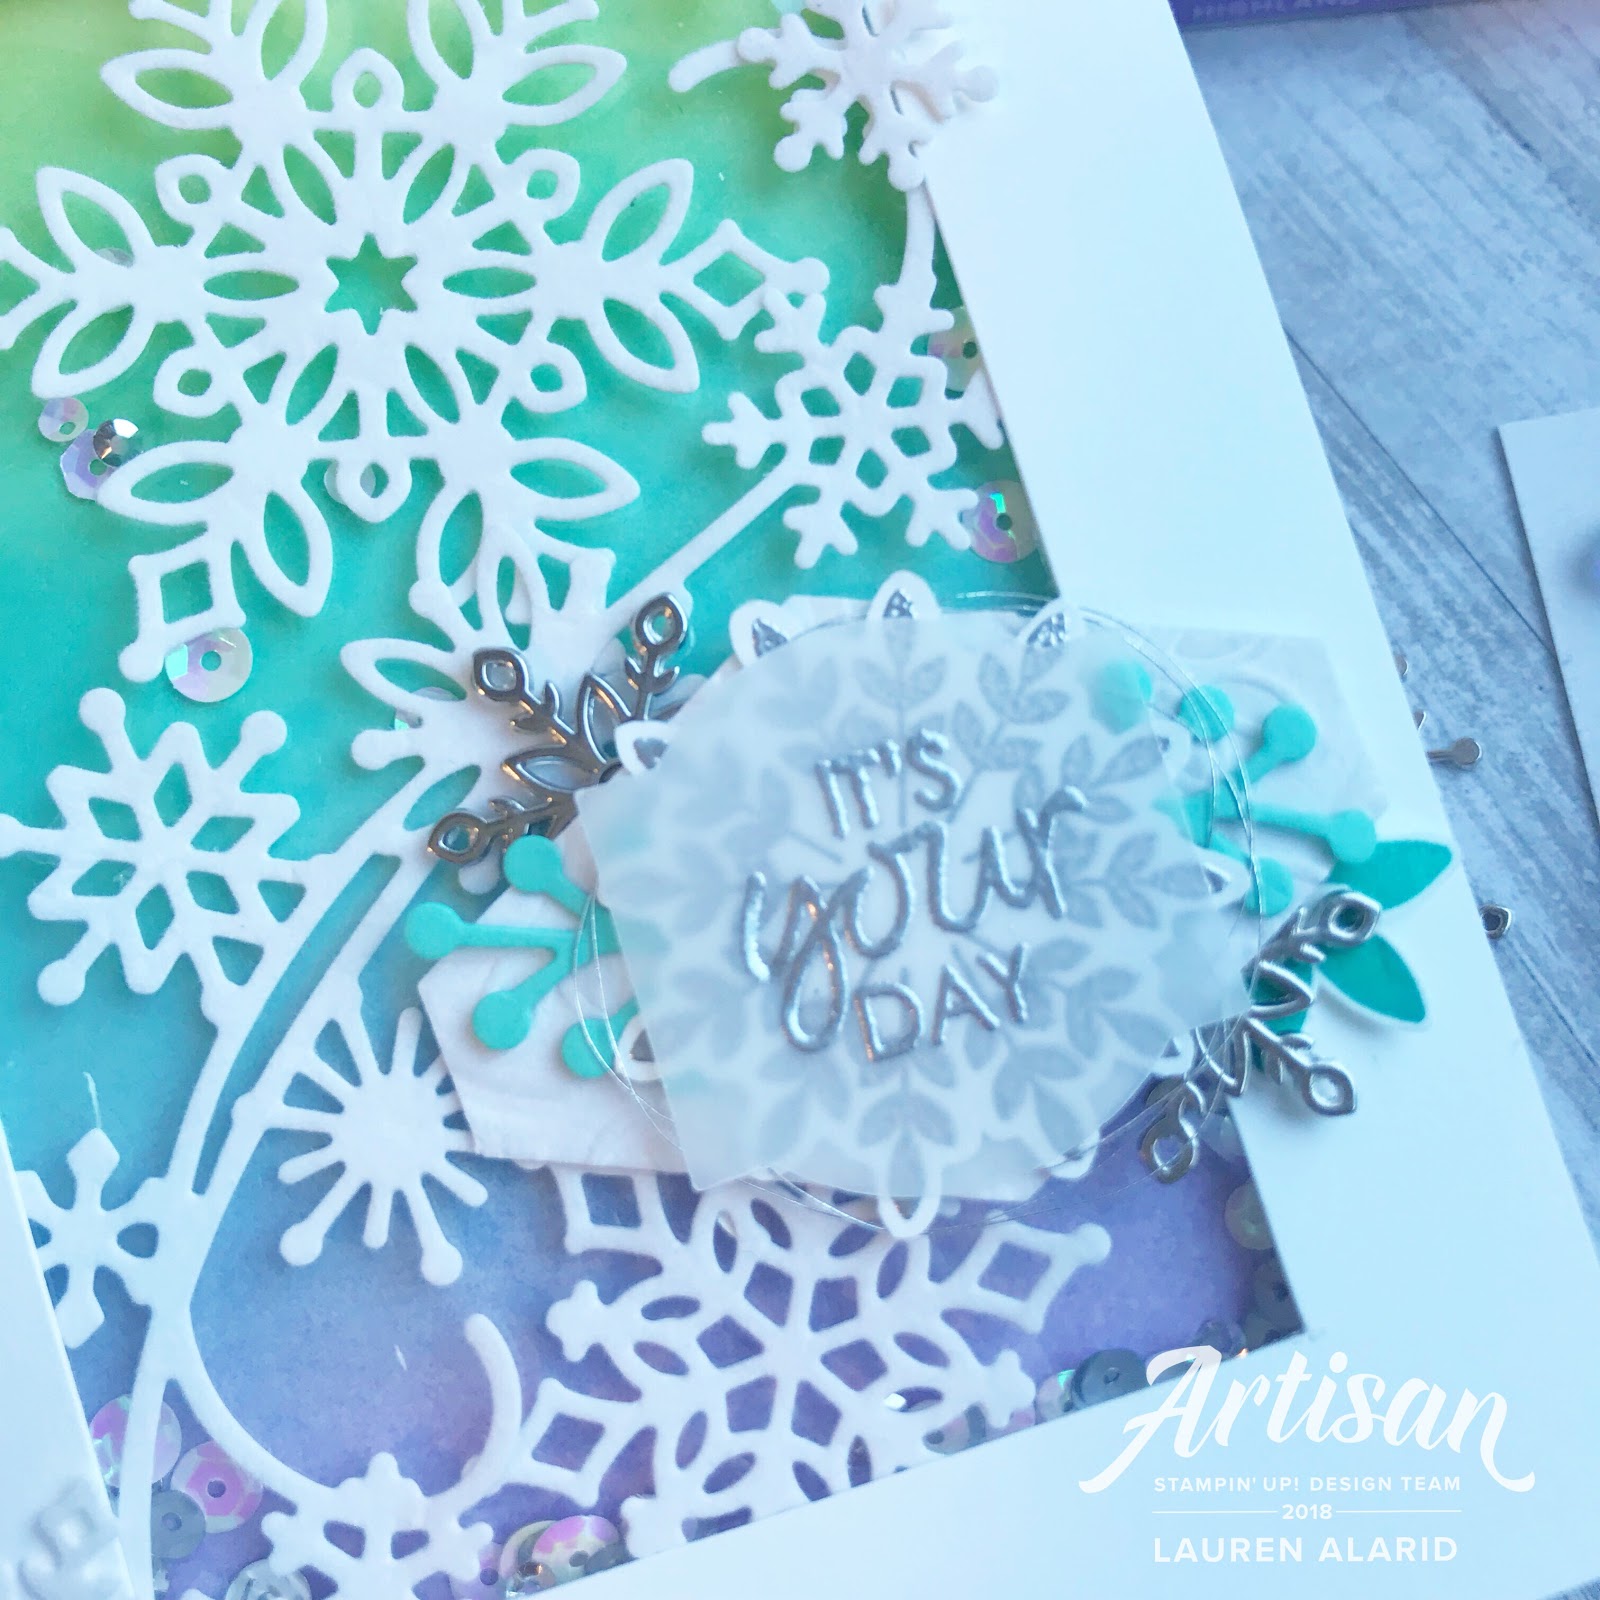
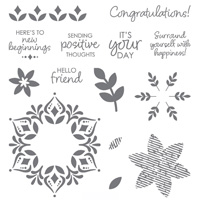
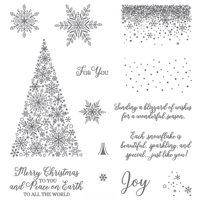
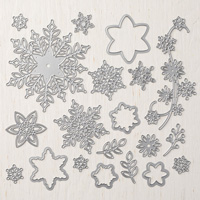
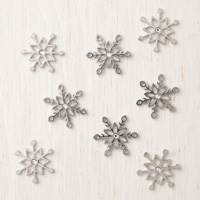
I'm truly excited about these gorgeous, exclusive new products. You can really dress up your stamp collection and make it sparkle with the inspiring Happiness Surrounds Set (149744) and the creatively cozy images of the Snow is Glistening Set (149742). Paired with the Snowfall Thinlits Dies (149692), the White Velveteen Paper (149619), and the Snowflake Trinkets (149620) accessories, you can make a complete winter wonderland! From the moment I saw these stunning products I was inspired. Here's a closer look at them:


New Crafters: Keep in mind that you can easily change this into a card more suited for the beginner crafter. You would simply take the shaker portion of this card out and just create a gradient background on a smaller layer of cardstock, add it to your card base, and layer the die cuts over the gradient layer and you'd have an equally beautiful sample.
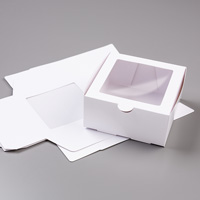
For my second project, I wanted something more 3-D. I wanted to create a fun and playful wrap for the Baker's Boxes. I think this project would be perfect for an event like a graduation, a shower or wedding or any celebration really.You could easily customize the colors for your event and have the perfect little favor!

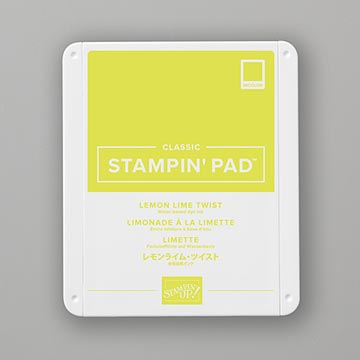
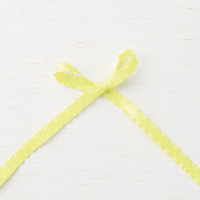
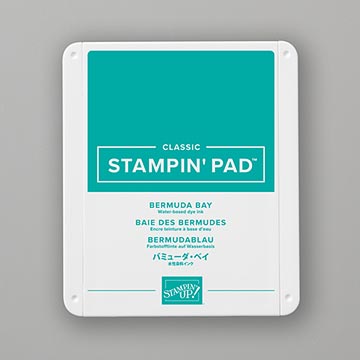
I started by stamping in both Bermuda Bay and Lemon Lime Twist onto a piece of Vellum to create the base of the wrap. I just love the subtle effect you get stamping on Vellum. I added piece of the Lemon Lime Twist Mini Ruffled Ribbon on top. Next I created a cute little rosette. These are so simple to do. Here are the steps:
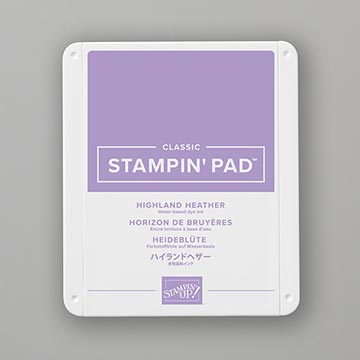
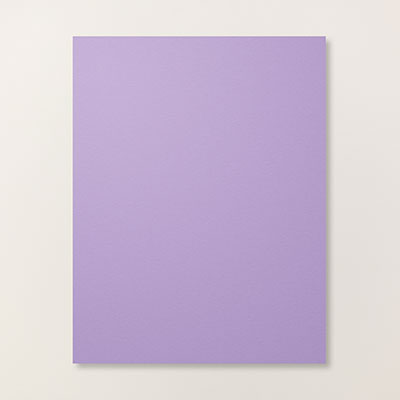
1. Cut a 1 1/2" x 11" piece of cardstock (I used Highland Heather). Remember: the thicker the cardstock cut, the bigger your rossette
2. Score your cut piece every 1/4" all the way down
3. Adhere the ends together
4. I like to adhere a circle to the back of the rosette to keep it in place while I add the other layers on top.
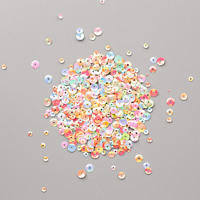
To finish this sweet little treat box off, I dded a few fussy cut stamped layers in the same coordinating colors, my sentiment, one of the beautiful Snowflake Trinkets, and a few sequins. I plan to put some of my famous chocolate chip cookies.

I had so much fun creating with these perfectly inspiring products and I know you will fall in love with them too! I just know that this will be my go-to for my Christmas cards this year with its cozy images and winter-y elegance. Remember, these projects will only be available through November 30th, so make sure you grab it while you can so that you can begin creating your own gorgeous classes and designs to share. I hope you have enjoyed today's projects. Keep hopping along and check out my other fellow teammates’ pages. They have some pretty amazing projects to share. I’ve listed them, along with all products used below or you can just click the link below to hop to Linda Van Wely-Zwolle.
Don't forget: Stampin' Up! features a corporate blog post each Thursday of the month where we Artisans share creative tips, tricks, and strategies. You can find these posts in the "notes" section of the Stampin' Up! Facebook Page.Thanks so much for stopping by and I’ll see you next post!

2018 Artisan Design Team
Don't forget! You can find me on Instagram and Facebook! Happy stamping!

Use my host code (E3MHAHB3) for monthly bonus items. Contact me for more info: Craftylittlepeach@gmail.com

Host A Party
Get your friends together and host a party to earn Stampin' rewards during the month of August! Contact me to book an event!
To order online:
October 2018 Hostess Code:
E3MHAHB3
Or email me @ Craftylittlepeach@gmail.com
If you’ve considered joining, it's a truly great time! For just $99, you can select $125 of your choice of product AND earn a 20% discount on purchases from the Annual Catalog. This is an amazing deal! If you want to join my team, click here or please email me!


Supplies:


This is so YOU...every project has the little *mermaid style!*
ReplyDeleteSo unique!
I agree with Jenni ... SO YOU! You do such an awesome job with cool colors. Beautiful Lauren.
ReplyDeleteGorgeous!! In Lauren colours, haha, you have your own signature on your projects! Color and details, love them!
ReplyDeleteI love the shaker card and what an amazing hostess gift to have the coordinating package. The colors you chose are stunning. xo
ReplyDeleteI was so curious what you do! I love it! This is your color combination and she is beautiful!
ReplyDeletexo
I never would have thought to use these colors for a holiday card, but your projects are so beautiful and so you!
ReplyDeleteYou have made a winter rainbow of color that is perfect for snowflakes and shaking sequins. Way to go with making such beautiful projects. Smiles, Elizabeth
ReplyDeleteSo gorgeous Lauren! You never cease to amaze me!
ReplyDeleteThis is another testimony on how Chief Dr Lucky cured my HIV disease. Do you need a cure for your HIV disease? Do you want to be cured from your cancer disease? Or you want to be free from any type of disease. Kindly visit his website https://chiefdrluckyherbaltherapy.wordpress.com/ . He just cured my HIV disease and I’m very grateful to him, he is the only herbalist that can cure you.
ReplyDeleteWhatsApp number : +2348132777335
Via Email : chiefdrlucky@gmail.com
Thank you all for reading,
God bless"