
Well, hello peaches! Welcome to the Sunshine & Rainbows Stampin' Up! Artisan Design Team Blog Hop! Each month our very talented and creative team of designers will be bringing you inspiration, so get comfortable and have a ton of fun hopping along with us. You may have just arrived from Kim McGillis' Blog. she always has such gorgeous projects. I just can't wait to see what she has created!
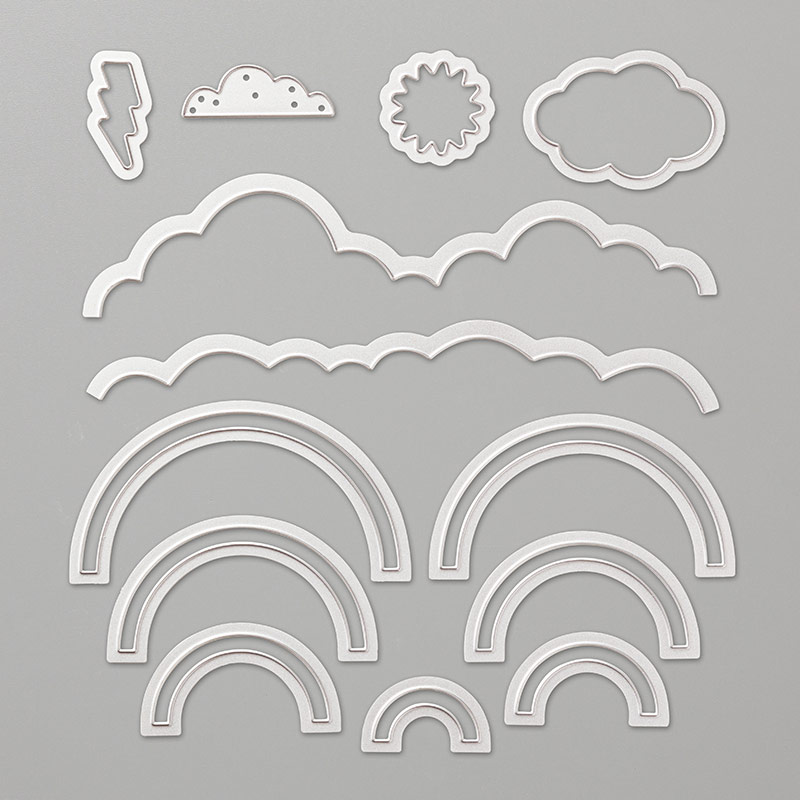
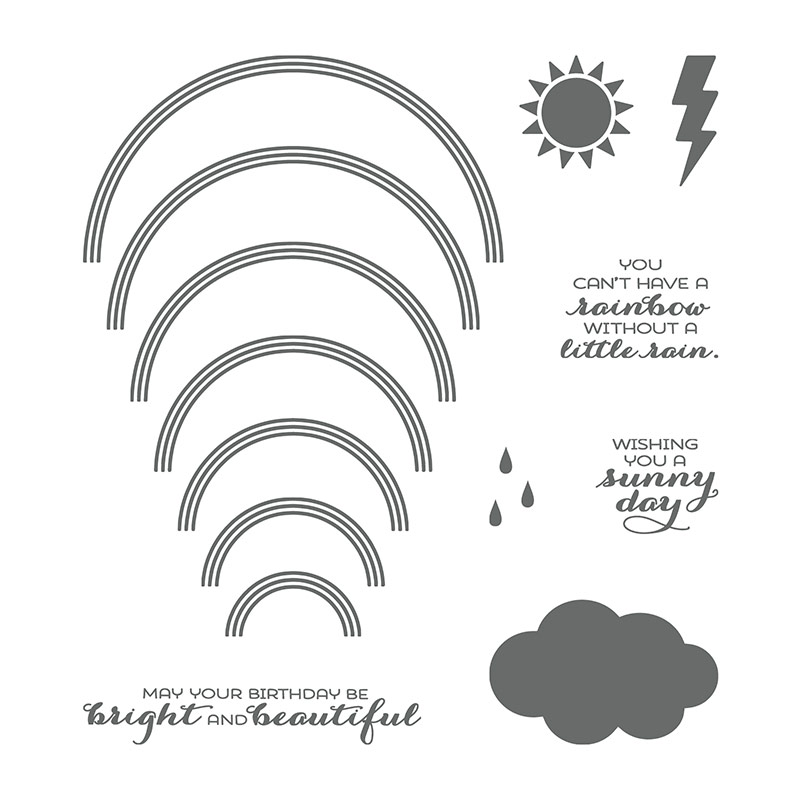
Today, I will be showcasing the Sunshine & Rainbows Stamp Set and Rainbow Builder Framelits Dies. There are so many beautiful ways to use these products and when you pair them together the possibilities are endless! Now, let's get to my projects!

What you will love most about this set of stamps and dies is that you can use them separately or together. You could stamp then die cut the stamps out, just stamp for a more one-layered project, or you could use just the dies themselves to cut out colored cardstock for another look. I had so much fun creating with these; I just could't stop creating! To me, that's a sign of a great versatile product.


On this next card, I wanted to focus on the stamps. I did use some cloud dies as well, but what I was able to do with the stamps on this card is pretty fun. I used one of the rainbow bands to create a straight band so when I stamped it, it would look like a downpour of water from my clouds.

Because these are photopolymer stamps, I am able to bend and manipulate them into different shapes. I took the largest rainbow band stamp and stretched it until it was straight. I found that using my clear block allowed me to do this more easily as it would stick in place as i adjusted it. Since the block is clear, you could even place it over a straight line to ensure your stamp is lined up straight.

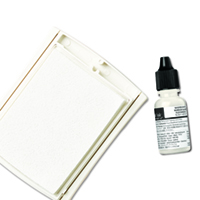
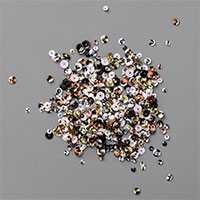
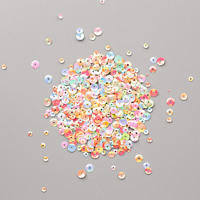
I stamped six rows of the straight rainbow bands towards the bottom of my panel in Versamark Ink and added Silver Embossing Powder on it. It's truly magic to watch this powder melt and the end results are gorgeous too. I layered on my clouds just above the embossed bands and tucked in a little sun stamped in Daffodil Delight Ink. For texture and to finish off my card, I added some Silver Ribbon and some silver sequins from the Metallic Sequin Assortment.

My final card is a shaker card. I think when I was coming up with the concept and sketch for this card, it look completely different than the end result, but I really like how it turned out. I had pictured the rainbow sitting flat on the bottom layer with bits of sequins dancing over it as you shook it. This is how it ended up coming together.

I die cut my rainbow bands in the same colors of cardstock as the first card, but this time I adhered them down one directly next to the other. Then I cut it out so that I had a shape to trace and cut to create my window for my shaker since there is no "whole, solid" rainbow die, just individual bands. I used some of the iridescent sequins from the Iridescent Sequin Assortment into my shaker and sealed it up. I added my embossed sentiment and finished off my card with the adorable Glitter & Clear Epoxy Shapes.
I hope you have enjoyed all of today's cards and designs. Keep hopping along and check out my other fellow teammates’ pages. They have some pretty amazing projects to share. I’ve listed them, along with all products used below or you can just click the link below to hop to Linda Van Wely-Zwolle.
Don't forget: Stampin' Up! features a corporate blog post each Thursday of the month where we Artisans share creative tips, tricks, and strategies. You can find these posts in the "notes" section of the Stampin' Up! Facebook Page.Thanks so much for stopping by and I’ll see you next post!

2018 Artisan Design Team

Get your friends together and host a party to earn Stampin' rewards during the month of April! Contact me to book an event!
To order online:
April 2018 Hostess Code:
9ZV37GSA
Or email me @ Craftylittlepeach@gmail.com

If you’ve considered joining, it's a truly great time! For just $99, you can select $125 of your choice of product AND earn a 20% discount on purchases from the Annual Catalog. This is an amazing deal! If you want to join my team, click here or please email me!
Supplies:


Great cards Lauren! Never thought of bending the stamps and make use of them like this, but like the idea very much!
ReplyDeleteAll your cards are sooo gorgeous!
ReplyDeleteI love this rainbow set so much ❤️
Beautiful work Lauren! All so different and unique.
ReplyDeleteSo we need to come up with a stampin' version of mic drop because the post is mic drop worthy!!! The altered rainbow is fantastic and the straightening of the images is (hold on I have to pick up the mic again) mic drop worthy :0)
ReplyDeleteGorgeous as always Lauren, thanks for the great tips.x
ReplyDeletePerfect examples of how to make even more of your stamps - the tip with the straightening of the stamp is fabulous and all your makes are so bright and beautiful!
ReplyDeleteThere are so many fun and genius ideas here Lauren. I always get so many hints and tips reading your blog.Your cards are stunning. Xx
ReplyDeleteOh your bright fun style totally shines through on these cards! I love how you used the rainbow stamp too - genius!
ReplyDeleteThis is another testimony on how Chief Dr Lucky cured my HIV disease. Do you need a cure for your HIV disease? Do you want to be cured from your cancer disease? Or you want to be free from any type of disease. Kindly visit his website https://chiefdrluckyherbaltherapy.wordpress.com/ . He just cured my HIV disease and I’m very grateful to him, he is the only herbalist that can cure you.
ReplyDeleteWhatsApp number : +2348132777335
Via Email : chiefdrlucky@gmail.com
Thank you all for reading,
God bless"