When I get into this type of crafting funk I will try to solve it a few ways. The first (and quite honestly my least favorite) is to just walk away and come back later. This is my least favorite because I feel like I have been defeated and am kind of giving up. Yet in reality I just need to cleanse my “creative palette”. You know how when you eat many different flavored foods, they recommend that you cleanser your palette. Otherwise, it becomes hard to really enjoy each true flavor. It can be the same for your other sense-sight. You need to stop, walk away, and look at other things before you return to your project and try again. I have found this to be very helpful though I am often reluctant to admit defeat, lol.
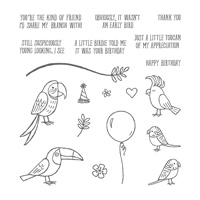
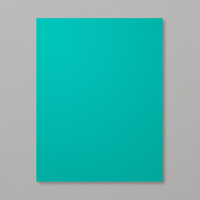
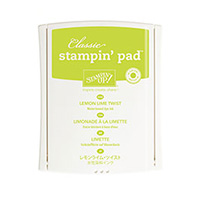
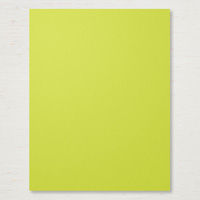
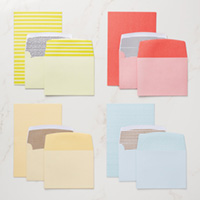
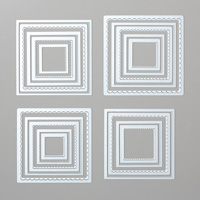
The second strategy, and my personal favorite, is to pull out the stamp set that you’d like to work with, stamp a few images, and ink or color them. In my project today I am using the super cute Bird Banter Stamp Set. And can I just say how in love with this set I am?!?! It is so darn cute and the sentiments are great. Anyway, let’s get back to the strategy. So the next step for me is to pull out some colors of ink and papers that I think look good and coordinate well together. I will often choose a soft color and a deeper, more bold color. This time I chose my absolute favorite color combo, Bermuda Bay and Lemon Lime Twist. Once my colors are chosen, I look to see if there is any coordinating Designer Series Paper (DSP) that will coordinate with my color combo (this also works in reverse. You can choose some DSP that inspires you and choose colors to match.). If I see some I like, I will place it with my chosen ink colors and cardstock. If not, I move on to my die cut shapes. I begin cutting out different combinations of coordinating colored cardstock. For my card today I chose to cut out a few squares Out of Bermuda Bay Cardstock and Lemon Lime Twist Cardstock using the Layering Squares Framelits Dies. I also cut out a strip of patterned paper from one of the card bases found in the Tutti-frutti Cards & Envelopes. After I’ve picked a few different shapes to layer, I begin arranging and tweaking the configuration of my layout until I’m happy. The reason that I find that this process works is because just by seeing all those beautifully inspiring colors and patterns together, I feel inspired. By just putting these elements all in one place, you can get an idea of where you want to go with your project and what you may need/want to adjust.
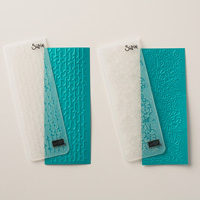
You'll notice that in the example above, I was toying with the idea of using the embossed background created by repeatedly using the Petal Pair Textured Impressions Embossing Folder. However in the end, it seemed to overwhelm the rest of the card so I went with a simple white background. This happens quite often in my crafting. I love that I have so many choices.
You'll notice that in the example above, I was toying with the idea of using the embossed background created by repeatedly using the Petal Pair Textured Impressions Embossing Folder. However in the end, it seemed to overwhelm the rest of the card so I went with a simple white background. This happens quite often in my crafting. I love that I have so many choices.
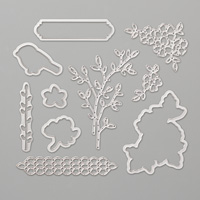
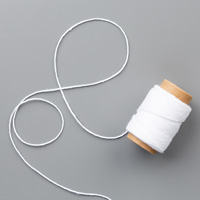
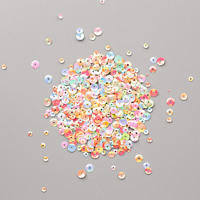
The final step for me is the embellishments. I will often add a few floral sprigs here and sequins or bling there. I never miss an opportunity to embellish, lol. For my example today, I die cut a few floral images from the Petals & More Thinlits Dies out of Vellum Cardstock and inked them up in a blend of Bermuda Bay Ink and Lemon Lime Twist Ink. I also wanted to add some twine but couldn’t devote on a perfect color for my project so I took the Whisper White Baker’s Twine and my Sponge Dauber ink pads and began to sponge on alternating sections of Bermuda Bay and Lemon Lime Twist. I think the result is quite fun and unique. I added a few sequins from the Iridescent Sequin Assortment and that finished off my card. Thanks so much for stopping by and I’ll see you next post!
Here are a few close-ups of my card:
Here are a few close-ups of my card:
Sale-A-Bration is one of Stampin' Up!'s biggest sales of the year! Through March 31st, for every $50 USD/$60 CAD you spend, you’ll receive a free Sale-A-Bration product. For anyone who has enjoyed Sale-A-Bration in the past, we have an exciting new announcement for this year: We now have a new reward level, giving you more flexibility and options for your free items.
Let’s break it down:
- If you spend $50, you get one free level 1 product.
- If you spend $100, you get one free level 2 product, OR, you can choose two level 1 items.
- If you spend $150, you have the option to choose three level 1 items or one level 1 item and one level 2 item.
This new option allows everyone to create a personalized Sale-A-Bration experience! Contact me for more info!
Host A Party
Get your friends together and host a party to earn Stampin' rewards during the month of September! Contact me to book an event!
To order online:
February 2018 Hostess Code:
JAQKGPDA
Or email me @ Craftylittlepeach@gmail.com
If you’ve considered joining, it's a truly great time! For just $99, you can select $125 of your choice of product AND earn a 20% discount on purchases from the Annual Catalog. This is an amazing deal! If you want to join my team, click here or please email me!
Supplies:







No comments:
Post a Comment
Note: Only a member of this blog may post a comment.