
Creating Texture In
Unexpected Ways
Hello, everyone! I am so happy to be sharing my creativity on
the company blog today. I will be showing you a few ways to create texture on
your projects, maybe in ways you may not have thought of. I just know you’re
going to love what I have to share today!

Adding texture to your
projects can create so much depth and interest, and there are so many ways to
do it. I typically add lots of layers to my card for a little extra texture,
but if you’re like me, you like to explore other ways to get that gorgeous look.

For my cards today, it
seemed fitting to use the Sea of Textures Stamp Set (146488) paired with the
Artisan Textures Stamp Set (146572). I
mean, “texture” is in the names of these sets, right?! I will show you how I
use these two sets to create texture by creating stamped backgrounds as well as
how to add it onto places you may not typically expect.
On both of my cards you
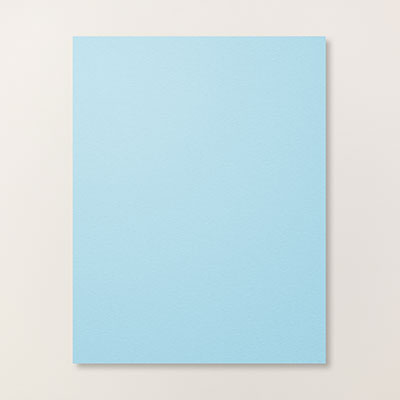
will notice loads of texture. You can achieve this look easily. I started with
Balmy Blue Cardstock (146982) on one card and Whisper White Thick Cardstock
(140272) for the other for my bases. I used one of the textured stamps from the
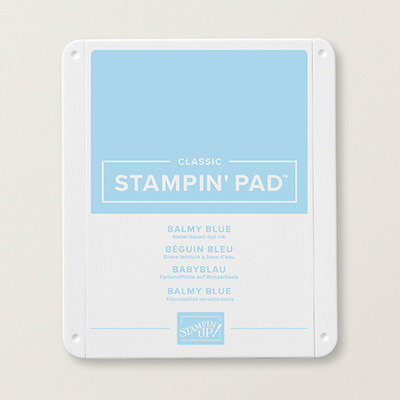
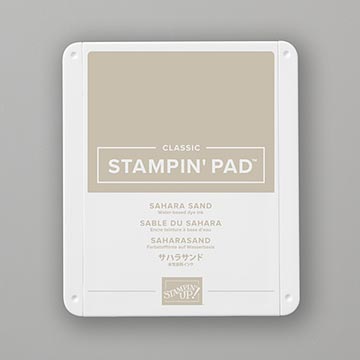
Artisan Textures Set to create my textured background. To do this I used my SaharaSand Ink Pad (147117) on my white base and my Balmy Blue Ink Pad (147105) on my
blue base repeatedly until the entire surface had been stamped. I stamped off
first each time I stamped to get a softer image. It created a real cool “tossed
up sand” look which seems quite appropriate for the theme of this ocean card.
This simple step of stamping and creating a background produces so much texture
and depth on its own, but let’s talk about a few more ways.


Another great way to
create texture is to stamp onto your Designer Series Paper. You’ll see in the
close-up of the picture below how the large wood-textured starfish has a bit of
a pattern on it. To achieve this look I drew a star shape onto a piece of WoodTextures Designer Series Paper (144177) and cut it out 4 times so that I could
layer them on top of each other for a faux wood element look. I sanded and
inked the edges in Sahara Sand Ink to soften the points of the star. Then I
used the “pebbly” looking stamp from the Artisan Textures Set to stamp right
onto the star. I think this not only adds more texture, but character to the
starfish as well.


Along with stamping onto DSP,
you can use textured or patterned stamps with embossing powder on top of an
already stamped image to get a textured dimensional look. Achieving this look
is simple. I start by stamping my main image (in this case, my octopus). Then
after the ink is completely dried, I use one of the textured stamps from the
Artisan Textures Set to stamp with onto my image with Versamark Ink (102283)
and then added Gold Embossing Powder (109129). After melting the powder with my
Heat Tool (129053), all of the gorgeous texture I had stamped was revealed in
beautiful gold metallic tones. The effect is really quite stunning. I tried to
capture this in the photo below. For a finishing touch on my cards and a dash
of additional texture I added some embellishments.


Of course there are
countless other ways to add texture to your projects. You could, as mentioned
earlier, add layering. You could use embossing paste for a fun background, or
you could even distress cardstock. There are so many great options for adding
texture!
I hope that you have
enjoyed this creative tip and found it helpful in adding texture and interest
to your projects. I encourage you to give these techniques a try and to look
for even more ways to dress up your designs. You will just love the unique outcome and feel
like a true artist!
Happy Crafting!
Lauren Alarid
2018 Artisan Design Team


Host A Party
Get your friends together and host a party to earn Stampin' rewards! Contact me to book an event!
To order online:
June 2018 Hostess Code:
ECW2DKSM
Or email me @ Craftylittlepeach@gmail.com

If you’ve considered joining, it's a truly great time! For just $99, you can select $125 of your choice of product AND earn a 20% discount on purchases from the Annual Catalog. This is an amazing deal! If you want to join my team, click here or please email me!
Supplies:


This is another testimony on how Chief Dr Lucky cured my HIV disease. Do you need a cure for your HIV disease? Do you want to be cured from your cancer disease? Or you want to be free from any type of disease. Kindly visit his website https://chiefdrluckyherbaltherapy.wordpress.com/ . He just cured my HIV disease and I’m very grateful to him, he is the only herbalist that can cure you.
ReplyDeleteWhatsApp number : +2348132777335
Via Email : chiefdrlucky@gmail.com
Thank you all for reading,
God bless"