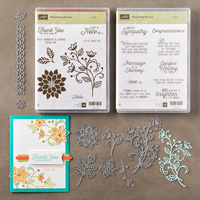
Well, speaking of creative opportunities (see what I did there 😂), I've been so excited to try out probably 100 different projects with this Flourishing Phrases set. It's so breathtakingly beautiful that, honestly, I feel like it practically does the work for you! This stamp set is full of lovely sentiments and the framlits, though intricate and delicate, are so fun to add to your project and really provide a uniquely stunning result.
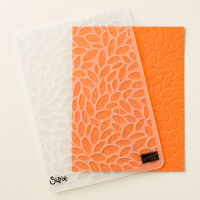
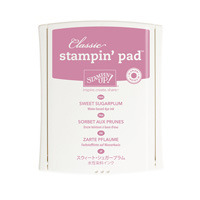
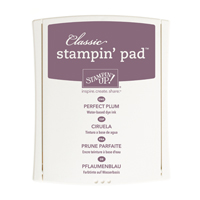
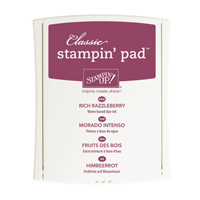
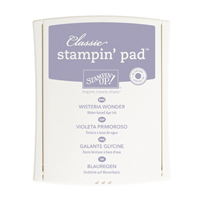
In my project today, I went for a more monochromatic design. I began by running both my second and third layer (both in Whisper White cardstock) through my BigShot, using the Petal burst textured embossing folder. I just love how these embossing folders add just the perfect touch of texture. I made the card base out of Perfect Plum cardstock and added one of the embossed layers to it at a tilted angle. With the next layer that was embossed, I took my sponges and my inks (I used some Wisteria Wonder, Rich Razzleberry, Perfect Plum, and the new in-color Sweet Sugarplum (okay now I'm getting hungry) and did a little ink blending. The key to this technique is to start light and off the actual intended project. You can always add more color, but you can't take it off.
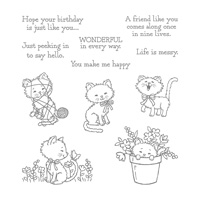
After it was blended, I took some Rich Razzleberry cardstock and a sentiment from the Pretty Kitty stamp set and used my Versamark to stamp my sentiment. In order to break the sentiment into the 3 pieces I did, I just inked only the areas that I wanted. To do this, I covered the parts of the stamp I didn't want inked with washi tape and DON'T FORGET TO TAKE OFF THE WASHI TAPE BEFORE STAMPING EACH TIME, or else you'll get a big blob of ink from the stamped tape-ask me how I know this 😞. The good news is that if that does happen to you, you'll likely never make that mistake again. So, anyway, after stamping my sentiment and adding white embossing powder, I hear set the powder, which, to this day, is still a magical sight. I then took that same Rich Razzleberry cardstock and cut "happy" out of it, using the Hello You thinlit dies. I also cut the flourish-y flower from the Flourishing Phrases thinlits out of Whisper White cardstock and assembled my card. The final touch: a few rhinestones, and that's today's card! Thanks so much for stopping by and as always, all supplies used for this card are listed below. You can just click on the links below and they will take you directly to the product! Thanks and see you next post!
Check out my store:
Make sure you see my name in the upper right hand corner of the page or select "find a demonstrator", then "demonstrator directory" and search my name, Lauren Alarid. If you don't select me, I won't know who to thank for the order. Email me with any questions at Craftylittlepeach@gmail.com
You can also check out my Pinterest Board:







No comments:
Post a Comment
Note: Only a member of this blog may post a comment.