
Well, hello peaches! Welcome to the Country Home Stampin' Up! Artisan Design Team Blog Hop! Each month our very talented and creative team of designers will be bringing you inspiration, so get comfortable and have a ton of fun hopping along with us. You may have just arrived from the wonderfully talented Kim McGillis' Blog. Her projects were breathtaking, weren't they?!


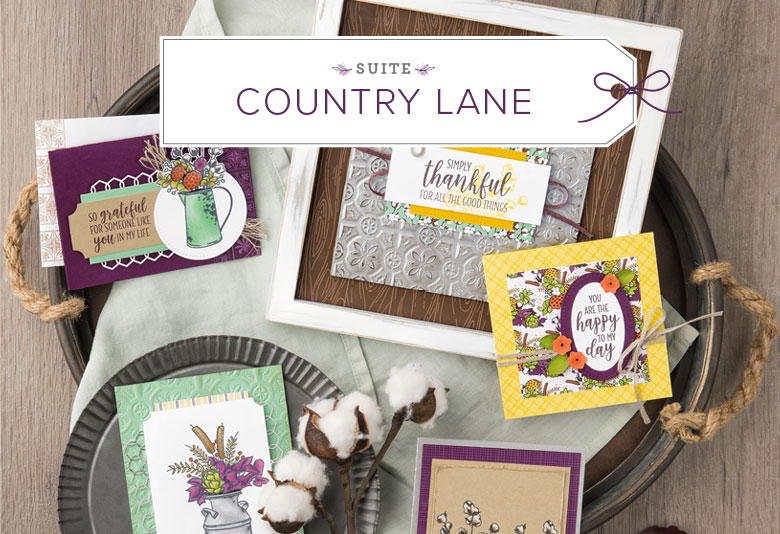
Today, I will be showcasing the Country Home Stamp Set and products from the Country Lane Suite. This suite has a lovely country chic look to it with rustic watering cans and gorgeous greenery, but even if you're not into the country style look, there's so much to fall in love with in this beautiful set.

For today's projects, I created a matching card set. For my first card, I began with a piece of Whisper White Cardstock and used my Balmy Blue Stampin' Write Marker to spritz my background. I used some Braided Linen Trim, along with the Chicken Wire Elements for a bit of texture. I also stamped one of the floral arrangements in Gray Granite Ink onto Watercolor Paper and colored it with some Balmy Blue Ink, Gray Granite Ink, Blueberry Bushel Ink, and Soft Sea Foam Ink, using my Aqua Painter.

For my next card, I began with a sheet of Watercolor Paper and used a mixture of Frost White Shimmer Paint and Balmy Blue Re-inker and the chicken wire as a mask to create a chicken wire textured background.
Here are the steps to create this background:

1. Lay your Chicken Wire Elements across your panel of paper to use as a mask.

2. Mix Shimmer Paint with Balmy Blue Re-Inker and spread across your mask with a Palette Knife.

3. Remove the mask and allow it to dry. Here's a close-up of the final result:

I also stamped this floral arrangement in Gray Granite Ink onto Watercolor Paper and colored it with some Balmy Blue Ink, Gray Granite Ink, and Soft Sea Foam Ink, using my Aqua Painter. I layered my arrangement onto my card and that finished off my first card.


This suite of products was so fun and inspiring! I hope you have enjoyed all of today's cards and designs (full list of supplies below). Keep hopping along and check out my other fellow teammates’ pages. They have some pretty amazing projects to share. I’ve listed them, along with all products used below or you can just click the link below to hop to the lovely Linda Van Wely-Zwolle.
Don't forget: Stampin' Up! features a corporate blog post each Thursday of the month where we Artisans share creative tips, tricks, and strategies. You can find these posts in the "notes" section of the Stampin' Up! Facebook Page.Thanks so much for stopping by and I’ll see you next post!

For my final card, I wanted to create and antiqued look for one of the jugs. I embossed with Black Embossing Powder onto a Silver Foil Sheet. Additionally, for this card I wanted a textured background so I embossed some Watercolor Paper that I had colored with the shimmer paint mixture (left over from the first card) with the Tin Tile Dynamic Textured Impressions Embossing Folder.

The picture above gives you a little better idea of how beautiful the shimmer paint is. It's even more stunning in person.
Here's a close-up of my cards:


Don't forget: Stampin' Up! features a corporate blog post each Thursday of the month where we Artisans share creative tips, tricks, and strategies. You can find these posts in the "notes" section of the Stampin' Up! Facebook Page.Thanks so much for stopping by and I’ll see you next post!

2018 Artisan Design Team
Sylwia Schreck

Don't forget! You can find me on Instagram and Facebook! Happy stamping!
Use my host code (E3MHAHB3) for monthly bonus items. Contact me for more info: Craftylittlepeach@gmail.com
Use my host code (E3MHAHB3) for monthly bonus items. Contact me for more info: Craftylittlepeach@gmail.com
Host A Party
Get your friends together and host a party to earn Stampin' rewards during the month of August! Contact me to book an event!
To order online:
October 2018 Hostess Code:
E3MHAHB3
Or email me @ Craftylittlepeach@gmail.com
If you’ve considered joining, it's a truly great time! For just $99, you can select $125 of your choice of product AND earn a 20% discount on purchases from the Annual Catalog. This is an amazing deal! If you want to join my team, click here or please email me!


Supplies:


And there it is again: Elegant blue! Adorable, my dear!
ReplyDeleteThese are just stunning Lauren! I just love your details again, you Always surprise me with your eye for great detail!
ReplyDeleteYes! This is adorable!
ReplyDeleteThanks for your inspirations, the tip and the beautiful color combo!
XX
Mixing shimmer paint with a reinker....genius. Three beautiful cards
ReplyDeleteTotally WOWzers! What fabulous tips and step by step for adding the shimmer paint to create such beautiful backgrounds xx
ReplyDeleteYou are the layer queen! And a shimmer queen as well. Beautiful work Lauren.
ReplyDeleteA beautiful mix of colors, check.
ReplyDeleteShimmering paste, check.
Mixing them together, ah yeah double check and give me more!
Oh wait, you gave instructions on how to do it, yeah party on!!!
Thanks for the inspiration and directions -- your'e the best.
Smiles, Elizabeth
gorgeous mix of blues on your card really eye catching.
ReplyDeleteBeautiful cards--love the colors and the great idea for creating a textured background.
ReplyDeleteThis is another testimony on how Chief Dr Lucky cured my HIV disease. Do you need a cure for your HIV disease? Do you want to be cured from your cancer disease? Or you want to be free from any type of disease. Kindly visit his website https://chiefdrluckyherbaltherapy.wordpress.com/ . He just cured my HIV disease and I’m very grateful to him, he is the only herbalist that can cure you.
ReplyDeleteWhatsApp number : +2348132777335
Via Email : chiefdrlucky@gmail.com
Thank you all for reading,
God bless"