Thursday, April 26, 2018

Stampin' Sneak Peek


Hello there peaches!  Welcome the Unofficial Stampin' Up! Artisan Design Team Sneak Peek Blog Hop.  I'm so happy that you've joined us as we share our beautiful projects from all around the world! Each of us was given a few products to create samples with to share at Onstage this past April (Onstage is Stampin' Up!'s convention where we demonstrators are invited to attend to get a sneak peek at brand new upcoming products).

  Sea Of Textures Bundle


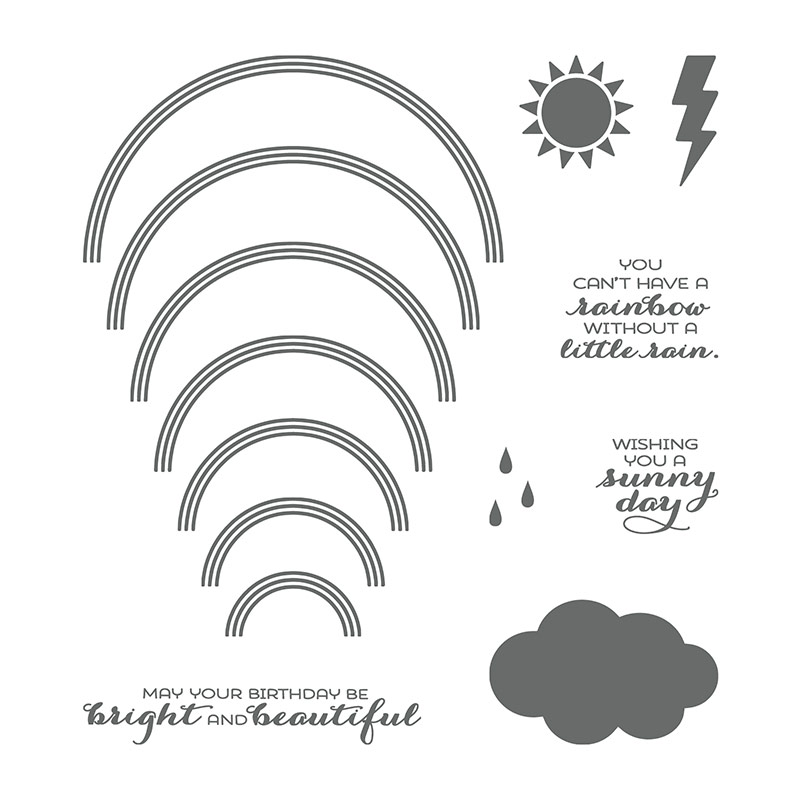
Today I am featuring the brand new stamp set Sea of Textures and it's coordinating Under The Sea Framelits Dies.  This stamp and die set are GORGEOUS!  In fact, there's a bit of a funny story about how I was assigned this set.


 After my lovely Stampin' Up! contact, Brandi Barnard, had asked me to be a presenter at the April 2018 Onstage in Las Vegas, I asked her if there were any ocean-themed sets. Of course I would do my best to make whatever she sent me shine, but I figured it couldn't hurt to ask. Well, she texted me back with a picture of the Sea of Textures Stamp Set and I'm pretty sure I lost the ability to speak, lol. I like to think that Stampin' Up! just KNEW what I love and picked it just for me. Well, I'm sure you can imagine that I took this set and ran with it. I couldn't stop creating and I think you'll feel the same way! 


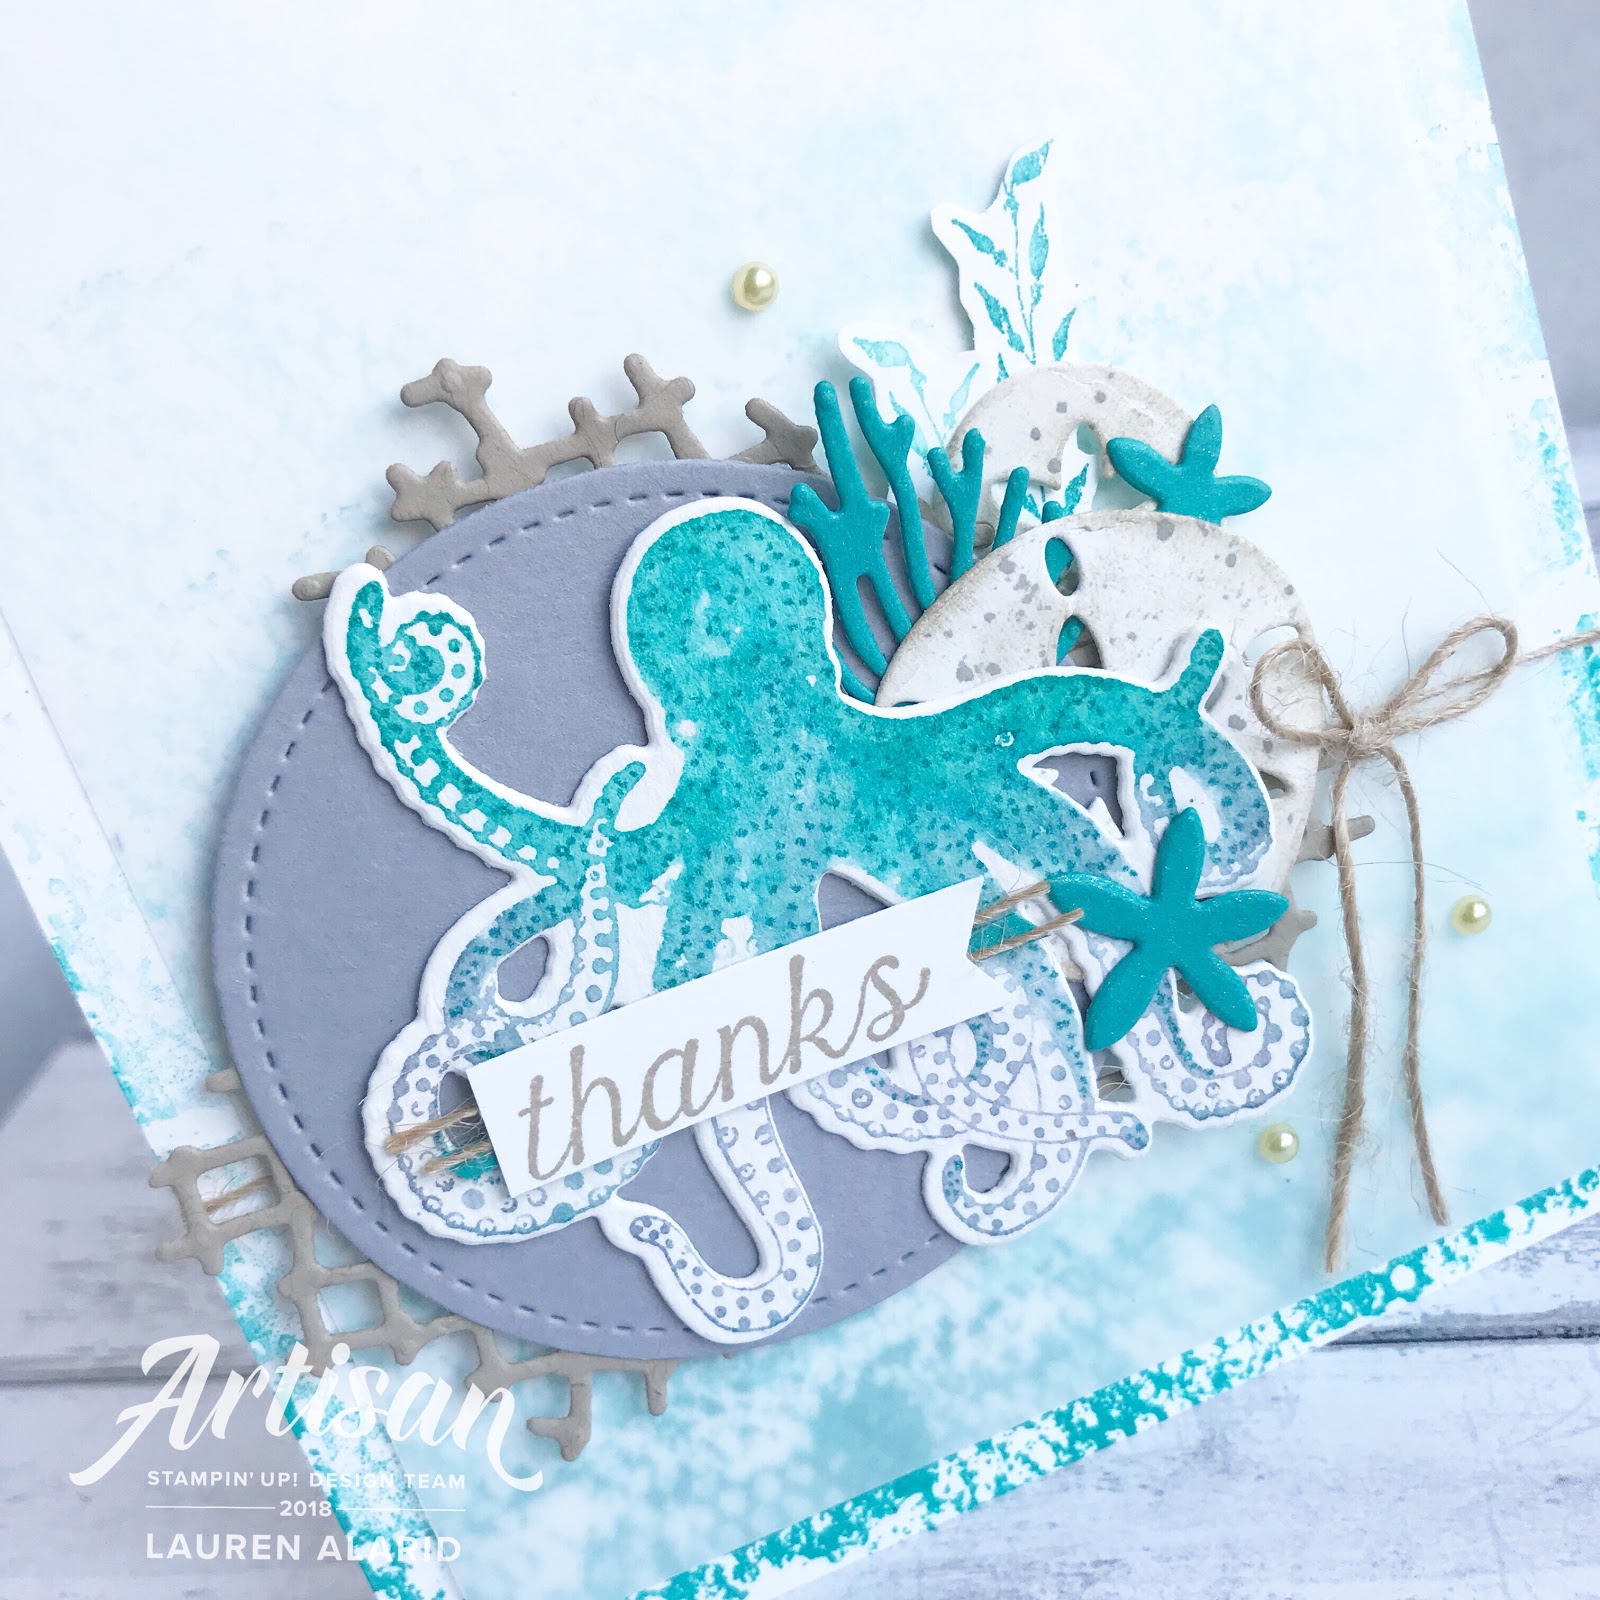
Here are a few samples I created with this bundle:


This stamp and die set is part of the Tranquil Textures Suite of products, so you know you're going to have a ton of fabulous products that will coordinate AND enhance each other! Not only that, but these products offer so much versatility. Because or their texture and artistic look, the possibilities for layering, adding texture, and creating unique, eclectic projects are endless! You can see in my projects just a few of the ways they can be combined and mixed and matched to create new looks.


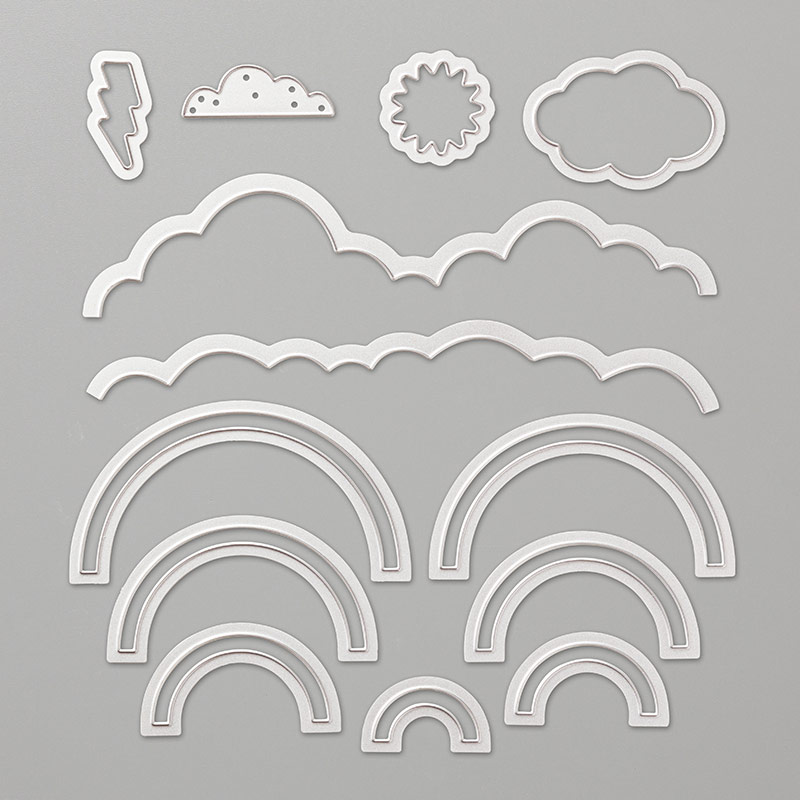
Now, I have shared with you how this stamp and die set offer so many creative options, but you really have to play with it yourself to see it's full potential. The stamp set has so many gorgeous textured images like an octopus, some, coral, and of course seaweed. It also has perfectly paired sentiments too which makes this set so perfect for just about any occasion. The dies are are beautiful too. Some are designed to cut out the image exactly; while others are stand-alone dies. I especially love the netting die! It's going to be so stunning on packaging, scrapbook pages, and cards! Her's a close-up of how I used the netting.


I just loved finding other ways to use the dies as well. In the scrapbook layout below, you can see how I have used the fish die to cut out a mask to spread embossing paste. The mask allowed me to create a school of little embossing paste fish, adding even more depth and texture to my layout. 


I even used the dies to dry emboss. I have talked in depth about how this technique is done in a previous post, but if you're wanting to achieve this look, I have great news! Stampin' Up! has come out with a brand new tool that will allow you to emboss with your dies! They are called Big Shot Embossing Mats and you will soon see them in the upcoming catalog this June (or you may have already seen them if you are already a demonstrator). Here's a look at the effect you get when embossing with your dies. I love the subtle texture you get with this embossing technique.


And don't throw away those tiny fish you cut out! they are great for shaker cards!


Well, that's all my display samples! As you can see, there are so many looks and possibilities with this set! You will definitely need to put this on your "must have" list because it's an amazing one! I hope you have enjoyed my sneak peek samples and I am so grateful you have stopped by. Next up is Emma Goddard. I'm so excited to see what she has to share!


Host A Party


Get your friends together and host a party to earn Stampin' rewards during the month of April! Contact me to book an event!

To order online: 
April 2018 Hostess Code:
9ZV37GSA


 If you’ve considered joining, it's a truly great time! For just $99, you can select $125 of your choice of product AND earn a 20% discount on purchases from the Annual Catalog. This is an amazing deal! If you want to join my team, click here or please email me!


Supplies:

Tuesday, April 24, 2018

Stampin' Up! Southern Serenade Birthday Card

Hello peaches! Now I know those of you who follow me regularly will have noticed a bit of a change in my posting schedule. I'm going to be trying something a little different. Don't worry! I won't be posting any less. If nothing else, you'll be occasionally seeing more posts from me. I just think that for the time being, Tuesdays and Thursdays will be more ideal. I'll keep you posted if anything changes, but my hope is that this will be my regular posting schedule from here on out. You can also find more shared ideas, tips, and techniques over on my Instagram page (@lalipeach) as well as my Pinterest board (search Lauren Alarid). I hope you will check them out! Now on to today's crafty inspiration!


For today's card I am featuring the Southern Serenade Stamp Set. I have used this stamp set in so many different ways and have gotten different, unique results every time, so I can say with confidence that it is a great and versatile set.


I started with a Thick Whisper White Cardstock for my base. Then I used a piece of the polka dot patterned paper from the Petal Passion Designer Series Paper (DSP). I layered on another striped piece from this same set of DSP. Next, I stamped the main floral image from the set in Basic Black Archival Ink since I planned to (you guessed it) watercolor it. I used my Aqua Painter and both Melon Mambo Ink and Powder Pink Ink to color the flowers. I started with the lighter pink ink and while the flowers will still a bit damp, I added a touch of Melon Mambo to the center of each one so that the moisture would allow the brighter pink to spread organically. I layered the flowers on, along with my sentiment and tucked a metallic floral embellishment from the Petal Passion Embellishments behind my flowers and sentiment. To finish off my card, I added some Silver Mini Sequin Trim.


I hope you have enjoyed today's card! Thanks so much for stopping by and I'll see you next post!


Host A Party


Get your friends together and host a party to earn Stampin' rewards during the month of April! Contact me to book an event!

To order online: 
April 2018 Hostess Code:
9ZV37GSA


 If you’ve considered joining, it's a truly great time! For just $99, you can select $125 of your choice of product AND earn a 20% discount on purchases from the Annual Catalog. This is an amazing deal! If you want to join my team, click here or please email me!


Supplies:

Thursday, April 19, 2018

Sunshine & Rainbows - Stampin’ Up! Artisan Blog Hop

Well, hello peaches! Welcome to the Sunshine & Rainbows Stampin' Up! Artisan Design Team Blog Hop! Each month our very talented and creative team of designers will be bringing you inspiration, so get comfortable and have a ton of fun hopping along with us. You may have just arrived from Kim McGillis' Blog. she always has such gorgeous projects. I just can't wait to see what she has created!

Rainbow Builder Framelits DiesSunshine & Rainbows Photopolymer Stamp Set


Today, I will be showcasing the Sunshine & Rainbows Stamp Set and Rainbow Builder Framelits Dies. There are so many beautiful ways to use these products and when you pair them together the possibilities are endless! Now, let's get to my projects!    


What you will love most about this set of stamps and dies is that you can use them separately or together. You could stamp then die cut the stamps out, just stamp for a more one-layered project, or you could use just the dies themselves to cut out colored cardstock for another look. I had so much fun creating with these; I just could't stop creating! To me, that's a sign of a great versatile product.


 For my first card I wanted to show you how beautifully these products enhance each other. I used the dies to cut out each band of the rainbow, one band in each color of Real Red Cardstock, Pumpkin Pie Cardstock, Daffodil Delight Cardstock, Old Olive Cardstock, Tempting Turquoise Cardstock, Pacific Point Cardstock, and Elegant Eggplant Cardstock. For the background I stamped the cloud stamp in Versamark Ink and sprinkled on some White Embossing Powder and heat set it. For a little more texture, I die cut out a few clouds from Dazzling Diamonds Glimmer Paper. I also put a Vellum Carstock cloud in my background as well. I wanted soft blue tinted raindrops but knew they wouldn't show up on the gray background, so I first stamped in White Craft Ink and then stamped over it again with my Tempting Turquoise Ink. Because the craft ink is pigmented, it allowed me to add color on top of it. I added a few Rhinestone Basic Jewels to finish off my card.


On this next card, I wanted to focus on the stamps. I did use some cloud dies as well, but what I was able to do with the stamps on this card is pretty fun. I used one of the rainbow bands to create a straight band so when I stamped it, it would look like a downpour of water from my clouds. 


Because these are photopolymer stamps, I am able to bend and manipulate them into different shapes. I took the largest rainbow band stamp and stretched it until it was straight. I found that using my clear block allowed me to do this more easily as it would stick in place as i adjusted it. Since the block is clear, you could even place it over a straight line to ensure your stamp is lined up straight.


I stamped six rows of the straight rainbow bands towards the bottom of my panel in Versamark Ink and added Silver Embossing Powder on it. It's truly magic to watch this powder melt and the end results are gorgeous too. I layered on my clouds just above the embossed bands and tucked in a little sun stamped in Daffodil Delight Ink. For texture and to finish off my card, I added some Silver Ribbon and some silver sequins from the Metallic Sequin Assortment.


My final card is a shaker card. I think when I was coming up with the concept and sketch for this card, it look completely different than the end result, but I really like how it turned out. I had pictured the rainbow sitting flat on the bottom layer with bits of sequins dancing over it as you shook it. This is how it ended up coming together.


I die cut my rainbow bands in the same colors of cardstock as the first card, but this time I adhered them down one directly next to the other. Then I cut it out so that I had a shape to trace and cut to create my window for my shaker since there is no "whole, solid" rainbow die, just individual bands. I used some of the iridescent sequins from the Iridescent Sequin Assortment into my shaker and sealed it up. I added my embossed sentiment and finished off my card with the adorable Glitter & Clear Epoxy Shapes.


 I hope you have enjoyed all of today's cards and designs. Keep hopping along and check out my other fellow teammates’ pages. They have some pretty amazing projects to share. I’ve listed them, along with all products used below or you can just click the link below to hop to Linda Van Wely-Zwolle


Don't forget: Stampin' Up! features a corporate blog post each Thursday of the month where we Artisans share creative tips, tricks, and strategies. You can find these posts in the "notes" section of the Stampin' Up! Facebook Page.Thanks so much for stopping by and I’ll see you next post!


2018 Artisan Design Team


Host A Party


Get your friends together and host a party to earn Stampin' rewards during the month of April! Contact me to book an event!

To order online: 
April 2018 Hostess Code:
9ZV37GSA


 If you’ve considered joining, it's a truly great time! For just $99, you can select $125 of your choice of product AND earn a 20% discount on purchases from the Annual Catalog. This is an amazing deal! If you want to join my team, click here or please email me!


Supplies:

#TGIFC336 Color Challenge

   Hey peaches and thanks for joining me for another fun TGIF challenge this week! If you're new to the  TGIF Challen ges , each Friday,...